Introduction
How to hem suit pants? In 2024 properly hemmed suit pants are essential for a polished and professional look. Whether you’ve purchased pants that are too long or your existing suit pant hem need adjustment, hemming them is a straightforward process that can be done at home with a few basic tools and some sewing skills. In this comprehensive guide, we will provide step-by-step instructions on how to suit hem pants, ensuring a tailored fit that enhances your overall appearance. By following these guidelines, you can achieve professional-looking results and confidently wear your perfectly fitted suit pants.
Gathering the Required Materials:
- Suit Pants: Choose a pair of hem of a suit pants that need to be hemmed. It is important to wash and iron them beforehand to ensure accurate measurements and smooth fabric.
- Measuring Tape: Use a flexible measuring tape to measure the desired length for the pants. Make sure to consider the type of shoes you will be wearing with the pants to determine the appropriate length.
- Pins: Straight pins will be used to mark the desired length of the pants before hemming.
- Sewing Kit: Prepare a sewing kit that includes thread in a matching color, sewing needles, fabric scissors, a seam ripper (optional), and a ruler or measuring gauge.
Measuring and Marking:
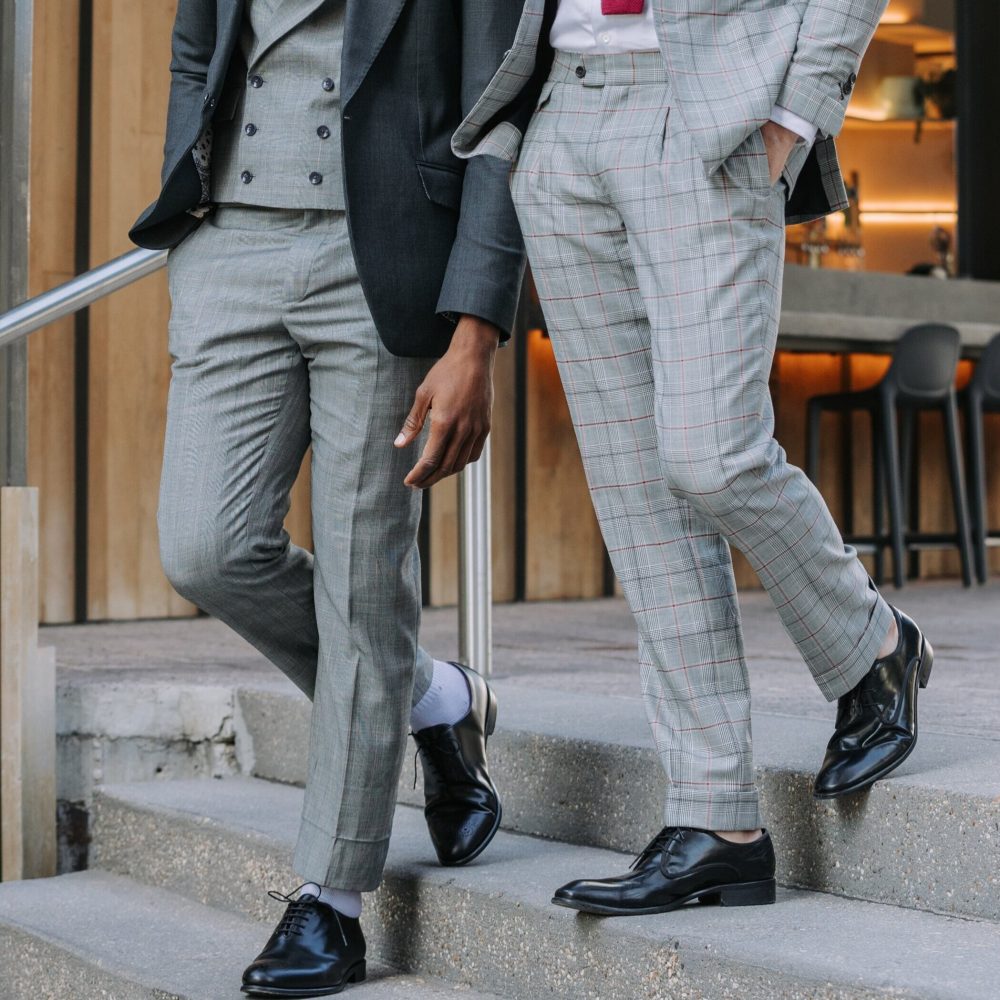
- Try on the Pants: Put on the suits vests and fold up the excess fabric to the desired length. Stand naturally with your shoes on and ensure the pants fall slightly above the shoes without dragging on the ground.
- Pinning the Hem: Once you have determined the ideal length, use straight pins to secure the folded fabric in place. Pin at even intervals around the pant leg to maintain an even hemline.
- Double-Check Measurements: Before permanently sewing the hem, double-check the measurements by trying on the pants and checking the length in a full-length mirror. Make any necessary adjustments.
Sewing the Hem:
- Remove the Pins: Carefully remove the pins from the folded fabric, ensuring that the hem remains intact.
- Thread the Needle: Select a matching thread and thread the needle. Double-threading the needle will provide added strength to the stitches.
- Knot the Thread: Create a small knot at the end of the thread to prevent it from slipping through the fabric.
- Begin Hemming: Starting on the inside seam of one pant leg, insert the needle through the fabric, close to the edge of the folded hem. Create a small, discreet stitch and continue sewing in a straight line around the pant leg.
- Stitch Placement and Length: Stitch along the edge of the folded fabric, approximately 1/4 inch (0.6 cm) from the edge. Space the individual stitches evenly, approximately 1/4 inch (0.6 cm) apart, ensuring a secure and neat hem.
Final Adjustments and Care:
- Try on the Pants: After hemming both pant legs, try on the suit pants once again to ensure the desired length is achieved. Make any necessary final adjustments.
- Iron the Hem: Press the pants with an iron, using a suitable setting for the fabric, to create a clean and polished appearance. Ensure the hem lies flat and is free from wrinkles.
- Care Instructions: Follow the care instructions for plus size men suits. Dry cleaning is often recommended to maintain the quality and shape of the tailored garment.
How to match accessories with a suit
Accessorizing a suit can elevate its overall appearance, adding a touch of personality, style, and refinement. Well-chosen accessories complement the suit, enhance the individual’s personal style, and make a lasting impression. From ties and pocket squares to cufflinks and belts, knowing how to skillfully pair accessories with a suit is essential.
Choosing the Suit:
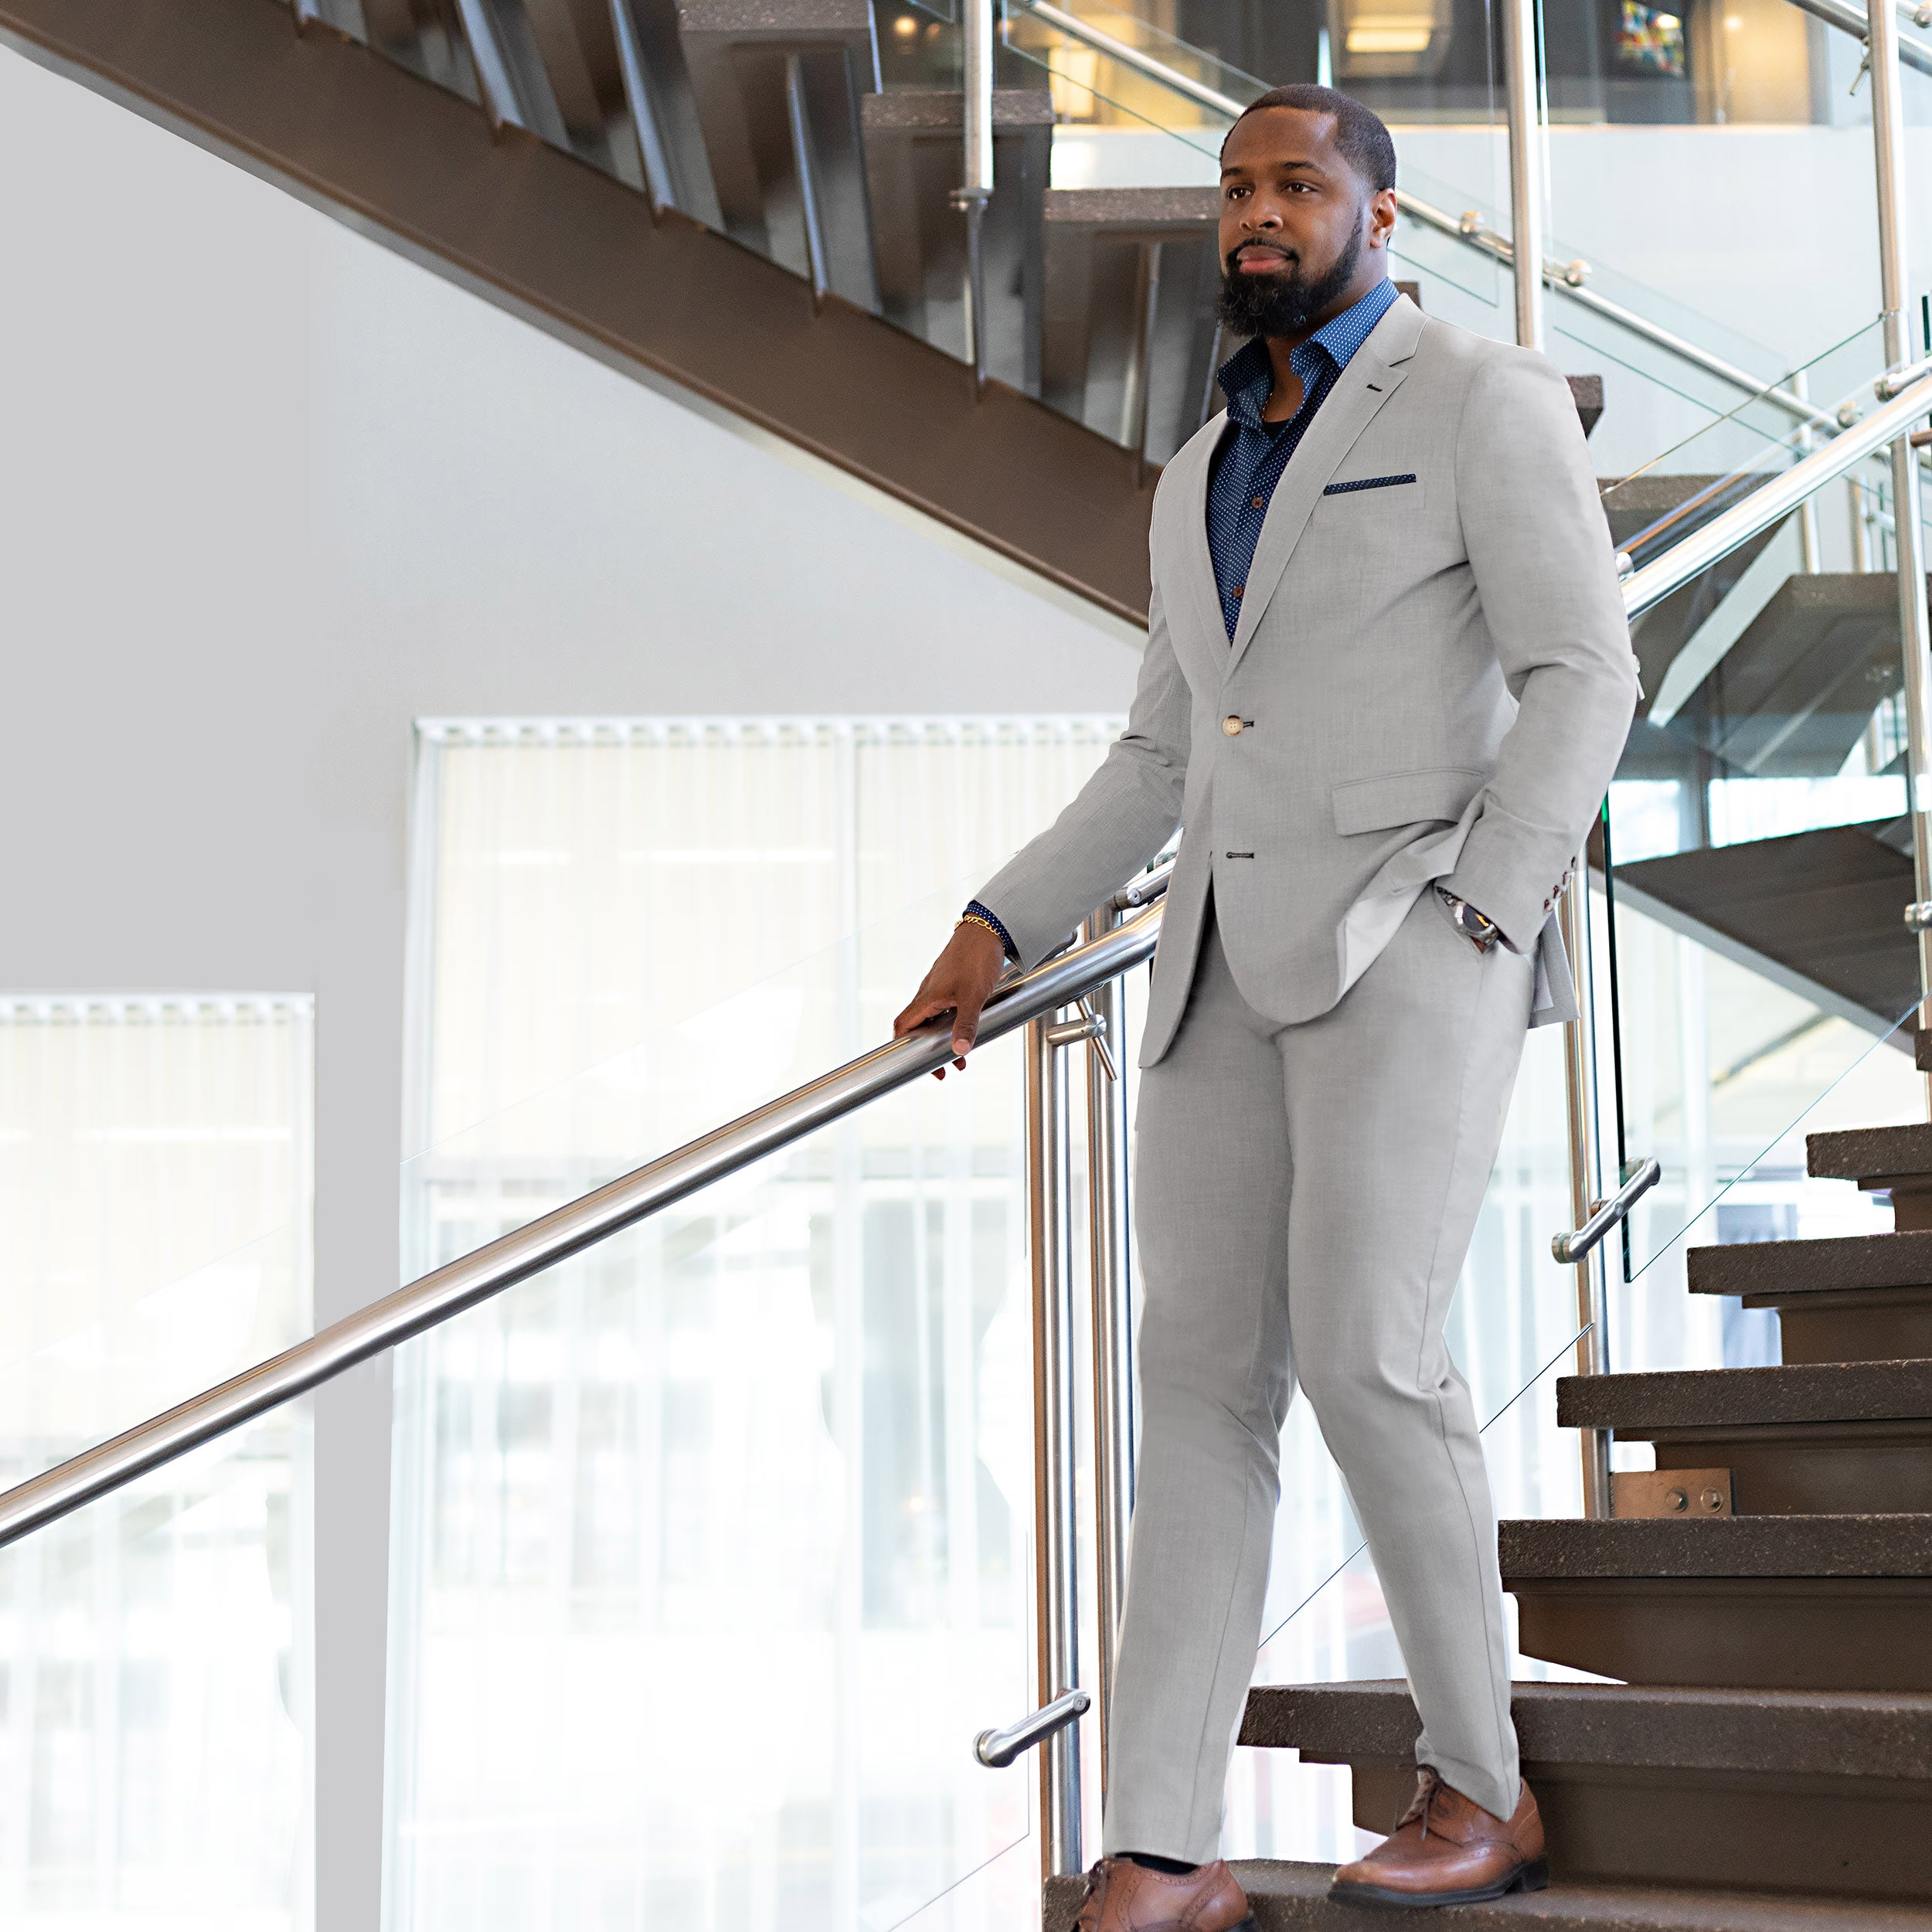
- Suit Color and Fabric: Select a suit in a classic color such as navy, charcoal, or black, as they offer versatility and timeless appeal. Consider the occasion and season when deciding on the suit’s fabric – wool for colder months and lightweight fabrics like linen or cotton for warmer weather.
- Proper Fit: Ensure your suit is tailored to your body shape for the best possible appearance. A well-fitted suit is the foundation for successful accessorizing.
Neckwear:
- Ties: Choose a tie that complements the suit’s color and pattern. Solid or patterned ties can be worn with a solid suit, while a suit with bold patterns or textures pairs well with a more subtle tie. Experiment with different knot styles, such as the Windsor or Half Windsor, to suit your personal style and the occasion.
- Bow Ties: For an alternative to a necktie, consider a bow tie. Bow ties add a touch of sophistication and work well for formal or festive occasions. Opt for self-tie bow ties and practice tying them for a more authentic and stylish look.
Pocket Squares:
Coordination: Pocket squares provide an excellent opportunity to introduce patterns, colors, and textures to your suit ensemble. Coordinate the pocket square with your tie or shirt while ensuring it complements the overall color scheme of your outfit. Experiment with different folding styles, such as the classic square or puff fold, to create distinct visual interest.
Cufflinks:
Formal and Elegant Touch: Cufflinks add elegance and detail to a track suits. Choose cufflinks that align with the formality of the occasion – simpler styles for business settings and more intricate designs for formal events. Coordinate the cufflinks with the suit’s color and accessories for a cohesive look.
Belts and Shoes:
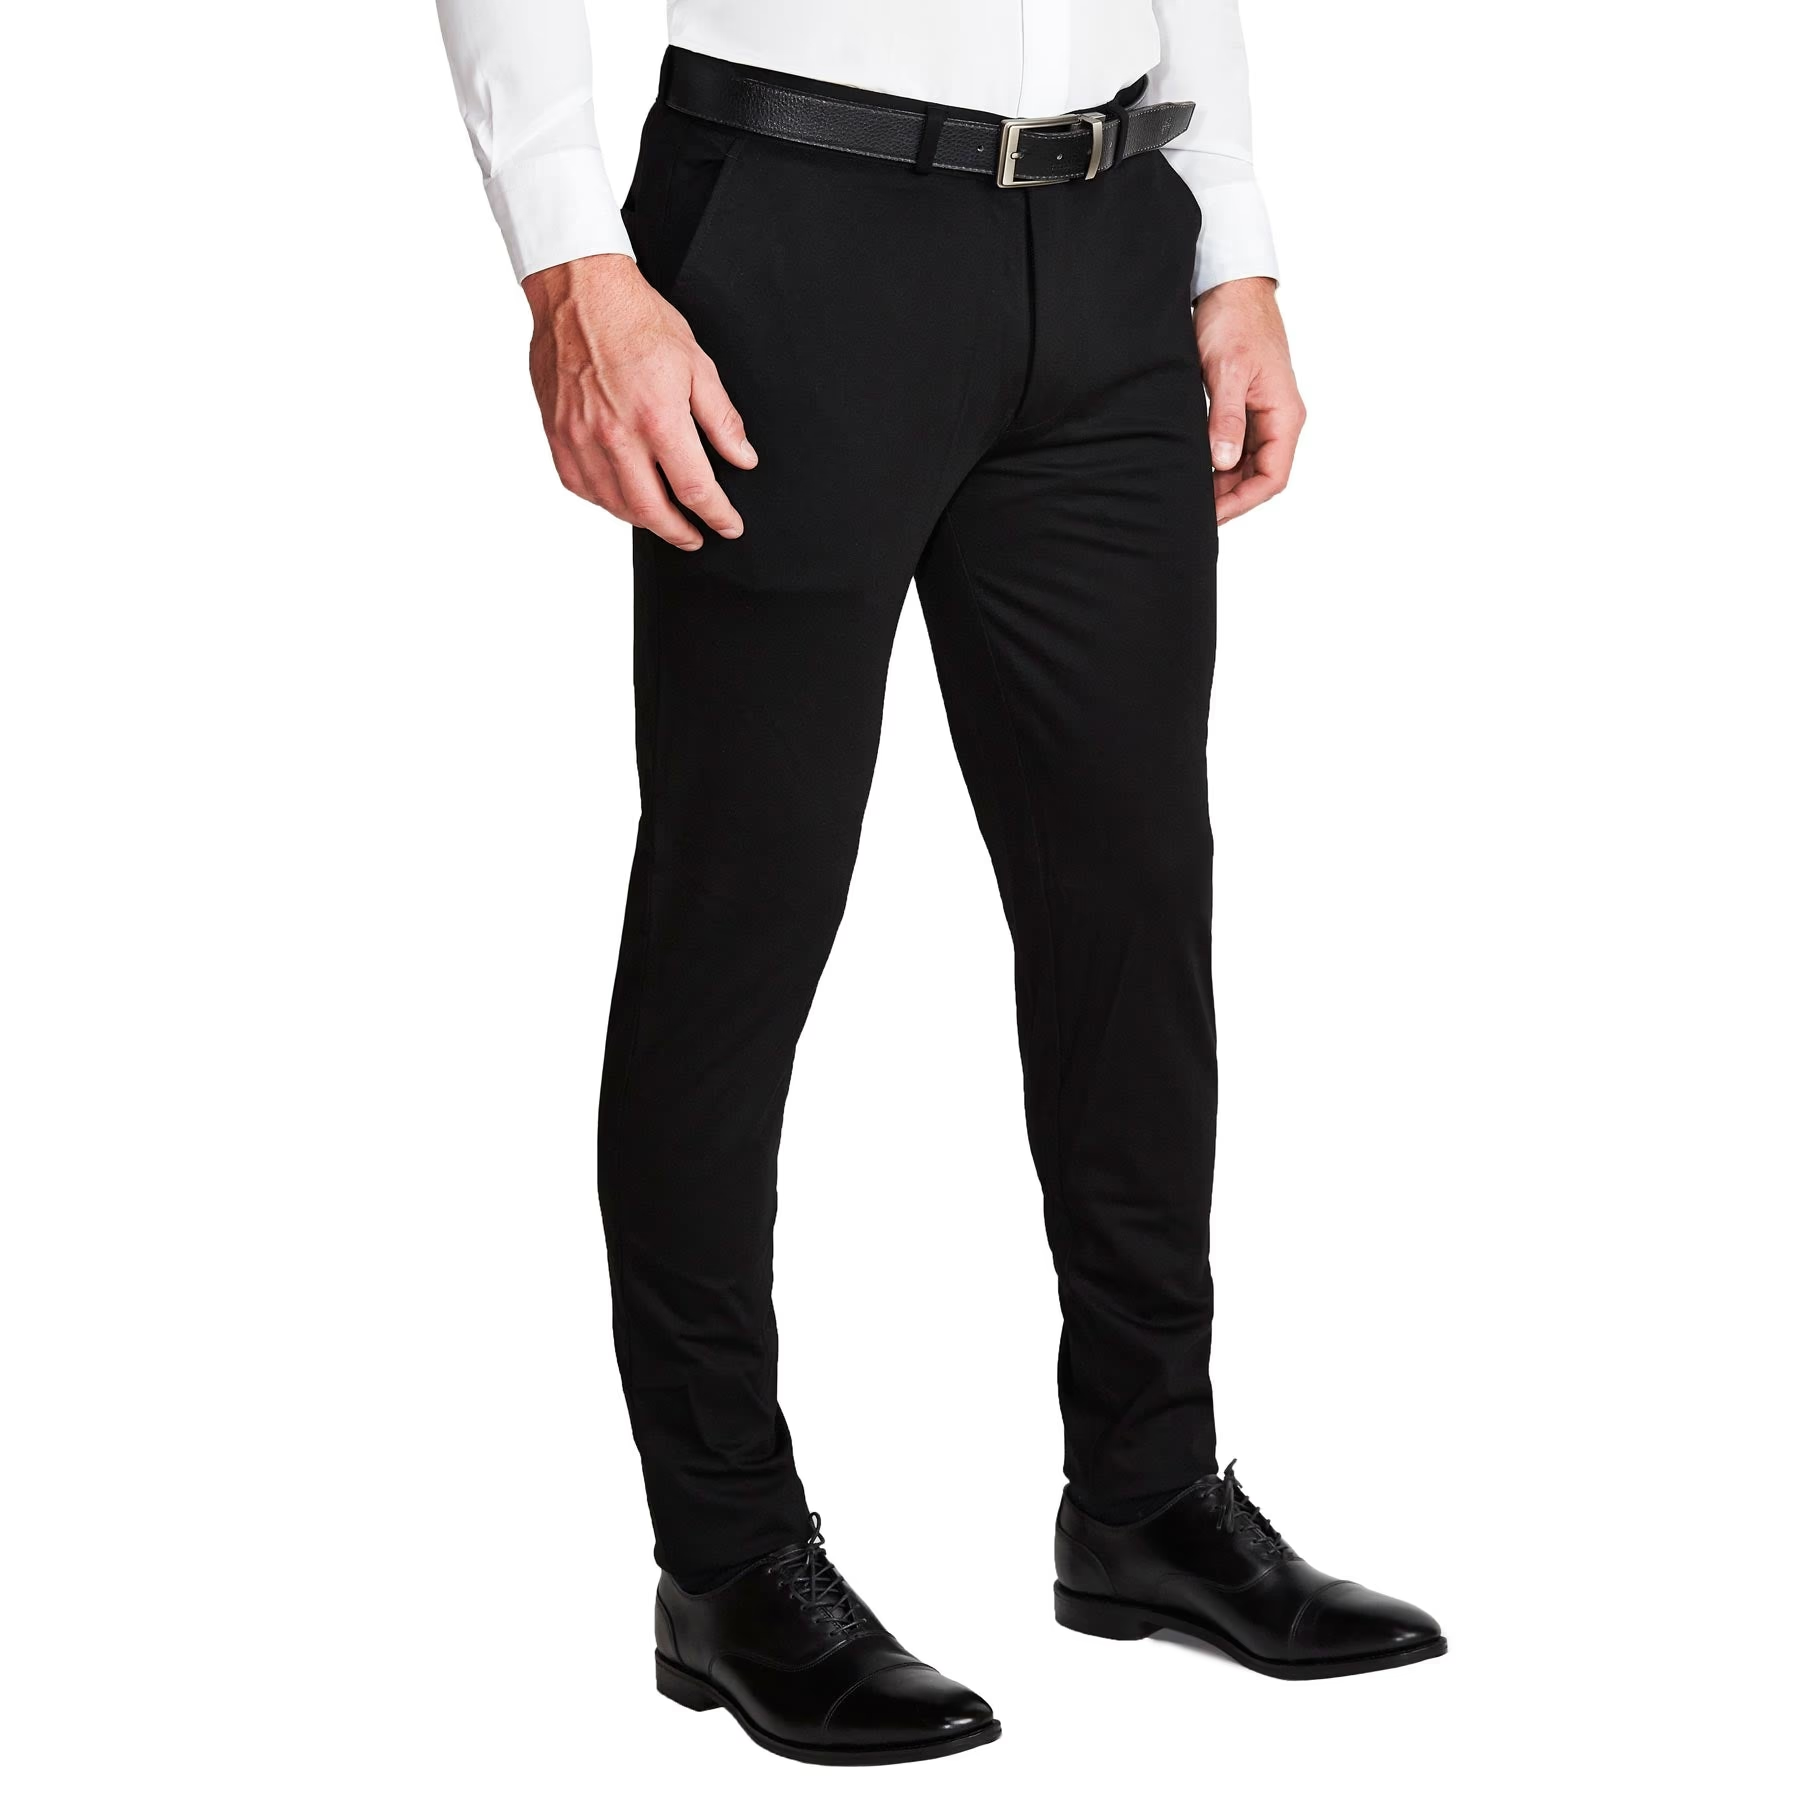
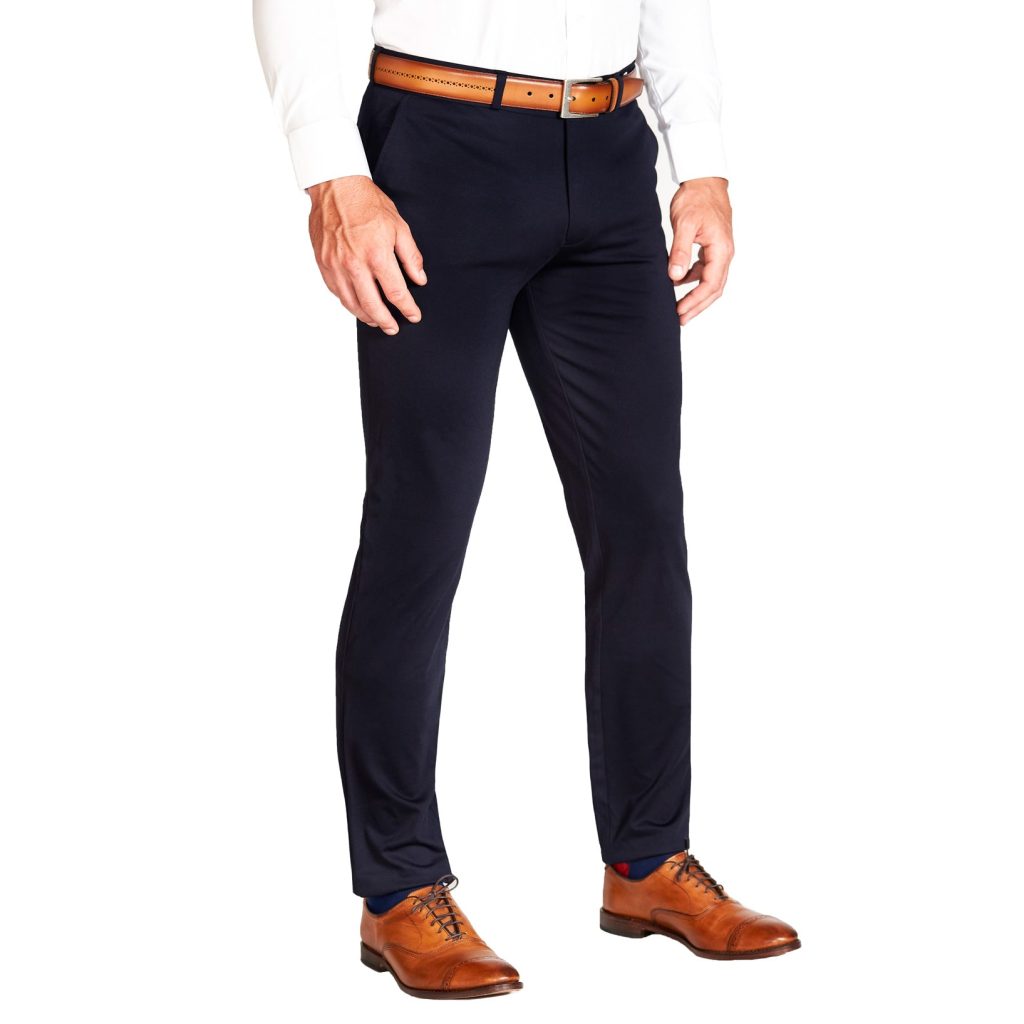
- Belt Selection: Match the color of your belt to your shoes for a refined and put-together ensemble. Opt for leather belts in a similar shade to your shoes, ensuring the belt’s width complements the suit’s lapels and buckle style complements the formality of the occasion.
-
Shoe Styles: Choose shoes that complement the suit’s color and occasion. Classic black or brown leather Oxford shoes are versatile and work well for various formal or business settings. Experiment with monk straps, loafers, or brogues to add a touch of personality while ensuring they are appropriate for the occasion.
Gather Materials and Tools
Before starting, ensure you have the following items:
- Sewing machine (optional but recommended for a neater finish)
- Matching thread
- Iron and ironing board
- Measuring tape
- Fabric chalk or pins
- Scissors
- Seam ripper (if the original hem needs to be removed)
- Sewing needles (for hand sewing, if not using a machine)
- Tailor’s ham or a rolled-up towel (for pressing curved seams)
 Measure and Mark the Desired Length
- Put on the suit pants with the shoes you plan to wear most often with them. Have someone assist you or stand in front of a full-length mirror.
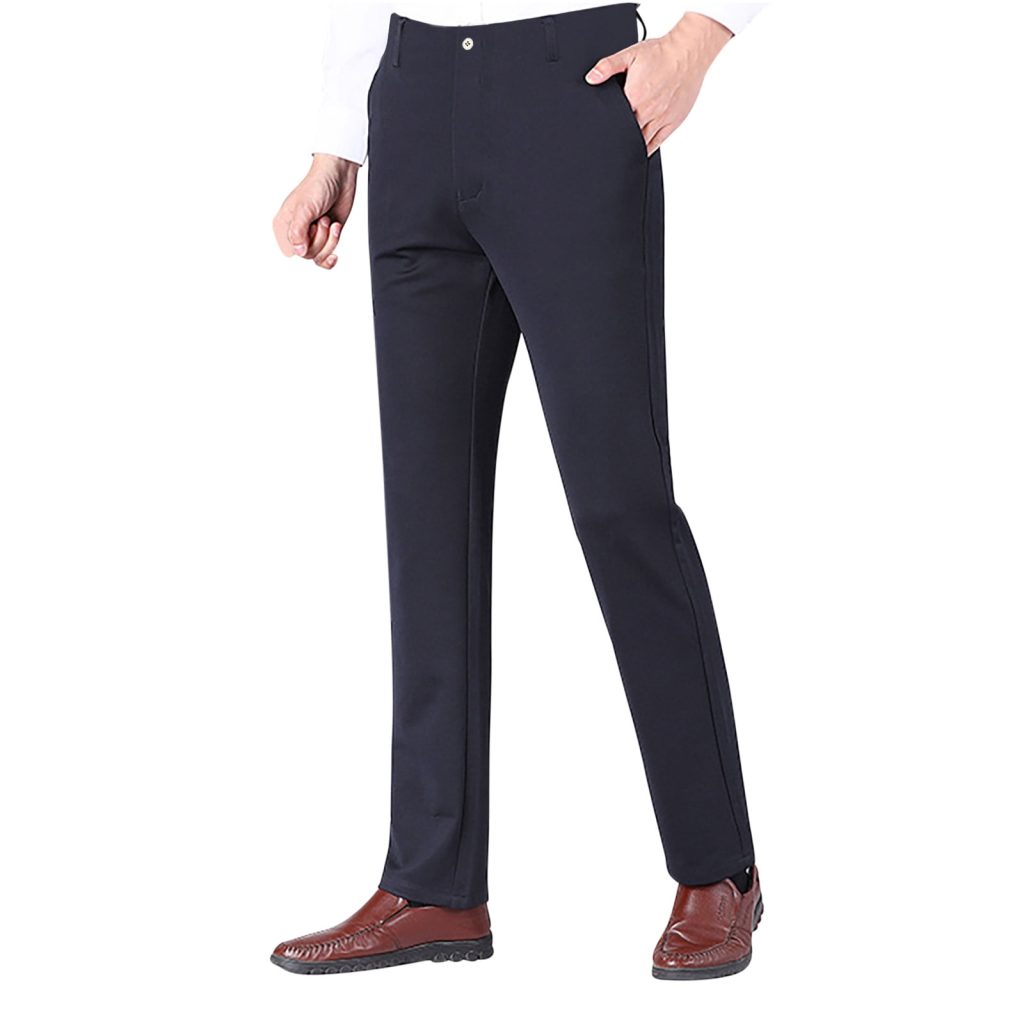
- Decide on the desired length, which is typically where the pants lightly graze the top of your shoe or have a slight break (a small fold just above the shoe).
- Use fabric chalk or pins to mark the spot where you want the hem to fall on both legs. Ensure symmetry by measuring from the crotch seam down to the chalk line on one leg and adjusting the other side to match.
Remove the Original Hem (if Needed)
- If the pants have an existing hem that is too long, use a seam ripper to carefully open it, being cautious not to damage the fabric. This step isn’t necessary if you’re shortening from above the original hem.
Fold and Pin the New Hem
- Fold the raw edge of the fabric up towards the inside of the pant leg to your marked line. Then, fold it again to create a clean edge, hiding the raw edge inside the fold. This double fold creates a more finished look and strengthens the hem.
- Use pins to secure the fold in place, making sure the fold is even all around.
Press the Hem
- Before, press the hem with an iron to create a crisp fold. Use a tailor’s ham or a rolled-up towel to help shape the curve at the bottom of the pant leg as you press.
Sew the Hem
- If using a sewing machine, select a straight stitch setting and sew close to the inner folded edge, removing pins as you go. For a blind hem (where the stitches are barely visible from the outside), use the blind hem stitch setting on your machine and follow the guide.
- If hand sewing, use a slip stitch or blind stitch to invisibly attach the hem, ensuring that the stitches are small and consistent.
Finishing Touches
- After sewing, trim any loose threads and press the hem again to set the stitches and create a neat finish.
- Inspect your work, ensuring the hem is even all around and lies flat.
Try On and Adjust
- Put on the pants again to check the length and fit. Make any minor adjustments if necessary.
Remember, practice makes perfect. If you’re new to sewing, it’s a good idea to practice on an old pair of pants or scraps of similar fabric before tackling your suit pants. Alternatively, if you’re not confident in your sewing skills, consider taking your pants to a professional tailor for the best results. A well-executed hem can significantly improve the look and feel of your suit, making it worth the effort or expense.
Conclusion:
Hemming suit pants is a skill that can enhance your appearance and ensure a tailored fit. By carefully measuring, marking, and sewing the hem using basic sewing techniques, you can achieve professional-looking results at home. Hemmed suit pants create a polished and refined look, exuding confidence and attention to detail. Following the step-by-step instructions provided, you can confidently hem suit pants to match your specific measurements and style preferences. Plus, by achieving the perfect fit, you can wear your suit with pride, knowing that every aspect of your attire is tailored to perfection.